Working on headlands
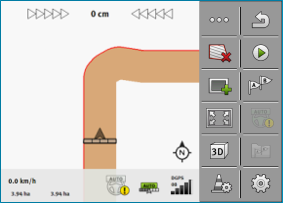
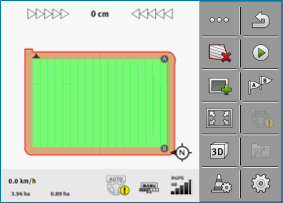
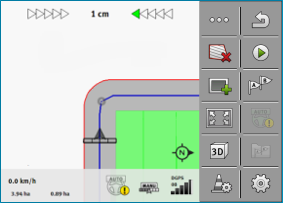
In the headland you can lay out guidance lines which will guide you around the field.
Advantages:
- ▪
- You can apply product in the headland after applying the product in the center of the field. In this way, no spray residue remains on the tyres after product application in the headland.
- ▪
- SECTION-Control switches off the boom sections which are in the headland area when the product is being applied onto the field.
Procedure
The parameters only appear once: when creating the headlands. Therefore, if you load a field boundary that also contains headlands, you can only change the headland settings as follows:
Parameter
You can configure the following parameters:
- ▪
- “Headland width”
- Input here how wide the headland should be. You can input the working width of the widest machine as a basis, for example the sprayer.
- ▪
- “Guidance line distance”
- Here, input how widely separated from each other the guidance lines should be. This normally corresponds to the working width of the used working equipment.
- ▪
- “Minimal turning radius”
- To prevent the lines on the headland from crossing at an angle less than 90°, you can enter a radius here that can be driven by your vehicle with the mounted implement.
- ▪
- “Automatically create guidance lines”
- If you activate this option, the terminal automatically creates guidance lines for the inside of the field. The guidance lines will be drawn as straight parallel lines.
- In doing so, three guidance line sets will be created in the folder with the guidance line sets, so that you can choose the direction in which you want to work the field. The guidance line sets are names “Headland” 1 to 3.
- Here, you can continue reading about how to select a guidance line set: Selecting a guidance mode
- ▪
- “Half width mode”
- Parameter for seeders only.
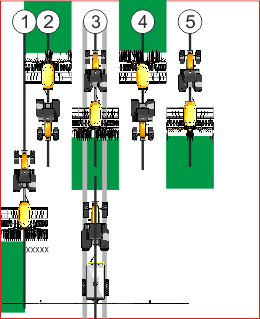
- Set the parameter to “yes” when you want to lay out guidance lines for the sprayer with the seeder and thus lay out both guidance lines in a single drive-over.
- In this mode, the guidance lines are laid out in such a way that the seeder can only work with only half of the working width during the first or second driver.
Procedure
- þ
- A field with field boundaries is loaded.
- 1.
- Start a new navigation.
- ⇨
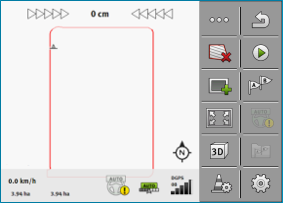
- The parameters are displayed.
- 3.
- Enter the parameters.
- 5.
- Apply product in the interior of the field.
- ⇨
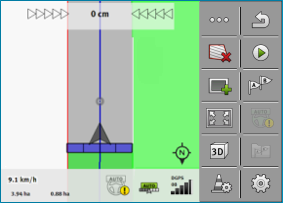
- Guidance lines are displayed in the headland.
- 7.
- Apply product on the headland.


 - Exit the screen.